Hey all, here i made a simply walktrough of how to use photoshops^^ for editing pictures from the Grinns Tale. This is not suitable for all edits. Some edits can just use Magic Eraser to erase them easily.
You can get your picture by screenshot and most people will have this problem . How to screenshot from The Grinns Tale.
Toggle Full Screen of The Grinns Tale
Press "Prnt Scrn" on your keyboard (Different computer have different way to Screenshot). Example: Shift/Fn/Crlt/Alt+Prnt Scrn
Check wheather u took Screenshot. How?
Open Paint/Photoshop
Press>New>Paste
Step 2 : Transparent Backgrounds[]
Open your photoshop.(Im using CS5)
Press File>New(Crtl+N)
Press Layer>New(Shift+Crtl+N) Note : Make sure it is a transparent layer!
Now delete the original background layer. Or you can press the delete button on you keyboard. Or the 'delete' icon (it's look like a dustbin,and is next to create a new layericon from the picture above .
Conclusion : It should look like this.
Step 3 : Crop[]
Paste your picture from screenshot .Edit>Paste(Crtl+V)
Crop(Make sure it's free will so u can crop however you prefer.
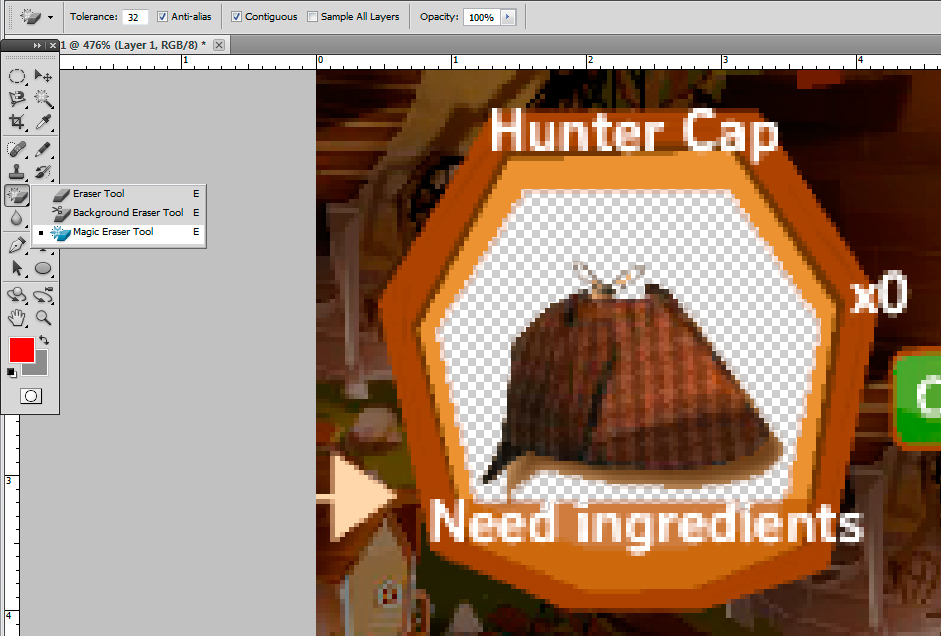
Step 4 : Lazy Magic Eraser![]
Use Magic Eraser (can be found at ''Eraser"icons) to erase the inner background only.
Then manually erase the unwanted background with a normal eraser.
And then you are done! You can already start using that picture for wikia .
Skip to step 6 if u are lazy to do addition edits.
Advenced Step 5 : Restructure[]
How to make it prettier? Of course! You start painting it .Try to keep as original as you can .
Tool I often use it:
Eyedropper
Brush
Eraser(normal)
Zoom Tool(bcoz it's so hard to see)
What to start 1st?
Define thin line(example:Strings,Hairs)
Erase Mixed colour(including shadow unless you wan to keep shadow) P.S I'm Still gona teach you how to make your own shadow.
Repaint them back . Note: Always have original picture as references.
Use eyedropper to blend it's nearest colour. Always pay attention to the light and dark side.
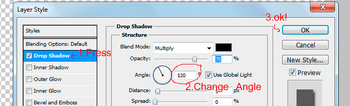
Putting shadows(Optional) Before that,clean up with ur erase.Then, Press Right Click on your layer>Blending Option>Dropshadow>OK!
Step 6 : Crop and Save[]
Crop once agin to make it prefect,because you don't wan it to overlap or too big for your column.
To save : Press File>Save for web and devices>Preset:PNG-24>Tick Transparency>OK! Note: Please give a proper name because everyone would be using it for a long while.
Finally Bang! You'r are awesome!
If you have any comments,or question,or addition detail you can comment on this page or find me personaly at my talk page Casslovefaz (talk) 14:18, January 20, 2013 (UTC) .Hope this help.Tq for readin


